Every website needs a way for visitors to get in touch, and an HTML form is the obvious answer. The markup is the easy part. The hard part, especially on a static site with no PHP or server, is everything around it: making the form usable with a keyboard and a screen reader, checking the input, getting the message to your inbox, and keeping spam out.
This guide builds one contact form that does all of that. You can try it below, copy the code, and then choose one of three ways to receive submissions: a form backend service, your host’s built-in forms, or your own serverless function. Service details were checked on each vendor’s site on November 12, 2026.
The Finished Form
Try it: submit it empty, enter a broken email address, or type a very short message. This copy runs in demo mode, so nothing is sent.
The full form has three parts: the HTML, a little CSS and about 50 lines of JavaScript. It works without JavaScript too. If the script fails to load, the browser submits the form normally to the address in action, which most form backends handle with a redirect to a thank-you page.
The HTML
<form class="contact-form" action="https://formspree.io/f/your-form-id" method="POST" novalidate>
  <div class="field">
    <label for="cf-name">Name</label>
    <input id="cf-name" name="name" type="text" autocomplete="name" required
           aria-describedby="cf-name-error">
    <p class="error" id="cf-name-error"></p>
  </div>

  <div class="field">
    <label for="cf-email">Email</label>
    <input id="cf-email" name="email" type="email" autocomplete="email" required
           aria-describedby="cf-email-hint cf-email-error">
    <p class="hint" id="cf-email-hint">We only use it to reply to you.</p>
    <p class="error" id="cf-email-error"></p>
  </div>

  <fieldset class="field">
    <legend>What is it about?</legend>
    <div class="choices">
      <label><input type="radio" name="topic" value="project" checked> A project</label>
      <label><input type="radio" name="topic" value="question"> A question</label>
      <label><input type="radio" name="topic" value="other"> Something else</label>
    </div>
  </fieldset>

  <div class="field">
    <label for="cf-message">Message</label>
    <textarea id="cf-message" name="message" required minlength="10" maxlength="2000"
              aria-describedby="cf-message-error"></textarea>
    <p class="error" id="cf-message-error"></p>
  </div>

  <!-- Honeypot: people never see or fill this; many bots do. -->
  <div class="hp" aria-hidden="true">
    <label for="cf-company">Leave this field empty</label>
    <input id="cf-company" name="_gotcha" type="text" tabindex="-1" autocomplete="off">
  </div>

  <button type="submit">Send message</button>
  <p class="status" role="status"></p>
</form>
Replace the action URL with your own endpoint; how to get one is covered below.
Accessible Markup
Most contact forms fail people who use a keyboard, a screen reader or autofill. A few habits fix that:
- Every field has a visible
<label>linked byforandid. Placeholder text is not a label: it disappears as soon as you type. WCAG 3.3.2 (Labels or Instructions) requires a label or instructions for input. - Related choices go in a
<fieldset>with a<legend>, so a screen reader announces “What is it about?” before each option. autocompletetokens such asnameandemaillet browsers fill the form in one tap, and meet WCAG 1.3.5 (Identify Input Purpose).- Hints and errors are linked with
aria-describedby, so they are read out when the field gets focus. aria-invalid="true"marks a field with an error. Set it only after the user has tried to submit or has left the field; marking empty fields invalid on page load confuses screen reader users.- A
role="status"message announces “Sending…” and the result without moving focus.
We checked the finished form with Lighthouse, which scored it 100 for accessibility, and inspected the browser’s accessibility tree: each field is announced with its label, and after a failed submit each error is attached to its field. The honeypot field is skipped in the tab order. Our guide to semantic HTML for accessibility goes deeper into why native elements beat custom ones.
Styling It with CSS
.contact-form {
  max-width: 560px;
  display: grid;
  gap: 20px;
  font: 16px/1.5 system-ui, sans-serif;
  color: #1a1a1a;
}
.contact-form .field { display: grid; gap: 6px; }
.contact-form label,
.contact-form legend { font-weight: 600; }
.contact-form .hint { margin: 0; font-size: 14px; color: #555; }
.contact-form input:not([type="radio"]),
.contact-form textarea {
  width: 100%;
  padding: 12px 14px;
  border: 1px solid #8a8a8a;
  border-radius: 8px;
  font: inherit;
  background: #fff;
}
.contact-form textarea { min-height: 140px; resize: vertical; }
.contact-form fieldset { margin: 0; padding: 0; border: 0; }
.contact-form .choices { display: flex; flex-wrap: wrap; gap: 8px 20px; margin-top: 6px; }
.contact-form .choices label { font-weight: 400; display: flex; align-items: center; gap: 8px; }
.contact-form input[type="radio"] { width: 18px; height: 18px; margin: 0; accent-color: #1a1a1a; }
.contact-form :focus-visible { outline: 3px solid #f25533; outline-offset: 2px; }
.contact-form input[aria-invalid="true"],
.contact-form textarea[aria-invalid="true"] { border-color: #b3261e; }
.contact-form .error { margin: 0; font-size: 14px; color: #b3261e; }
.contact-form .error:empty { display: none; }
.contact-form .hp {
  position: absolute;
  left: -10000px;
  width: 1px;
  height: 1px;
  overflow: hidden;
}
.contact-form button {
  justify-self: start;
  padding: 12px 22px;
  border: 0;
  border-radius: 999px;
  background: #1a1a1a;
  color: #fff;
  font: inherit;
  font-weight: 600;
  cursor: pointer;
}
.contact-form button[disabled] { opacity: .6; cursor: progress; }
.contact-form .status { margin: 0; min-height: 1.5em; }
Three details matter more than the colors. Inputs use font: inherit, so they match your page instead of the browser’s small default. The focus outline is thick and high-contrast, because the default ring is easy to miss. And invalid fields get a red border and a text message, since color alone is not enough to signal an error. For a different look, our flat login form tutorial uses the same structure with another style.
Validation: Built-In Attributes, Then a Little JavaScript
HTML already validates a lot on its own: required blocks empty fields, type="email" checks for an address, and minlength and maxlength limit text length. Without any script, the browser shows its own error bubbles when you submit.
Those bubbles look different in every browser and vanish after a few seconds, so this form adds novalidate to turn them off and shows its own messages instead, using the same rules through the Constraint Validation API:
document.querySelectorAll('.contact-form').forEach(function (form) {
  var status = form.querySelector('.status');
  var fields = form.querySelectorAll('input[required], textarea[required]');

  function message(el) {
    var value = el.value.trim();
    var name = form.querySelector('label[for="' + el.id + '"]').textContent;
    if (!value) return 'Please enter your ' + name.toLowerCase() + '.';
    if (el.validity.typeMismatch) return 'Please enter a valid email address, like name@example.com.';
    if (el.minLength > 0 && value.length < el.minLength) {
      return 'Please write at least ' + el.minLength + ' characters.';
    }
    return '';
  }

  function check(el) {
    var text = message(el);
    document.getElementById(el.id + '-error').textContent = text;
    el.setAttribute('aria-invalid', text ? 'true' : 'false');
    return !text;
  }

  fields.forEach(function (el) {
    el.addEventListener('blur', function () { if (el.value) check(el); });
    el.addEventListener('input', function () {
      if (el.getAttribute('aria-invalid') === 'true') check(el);
    });
  });

  form.addEventListener('submit', function (e) {
    e.preventDefault();
    var firstBad = null;
    fields.forEach(function (el) { if (!check(el) && !firstBad) firstBad = el; });
    if (firstBad) { firstBad.focus(); return; }

    var button = form.querySelector('button[type="submit"]');
    button.disabled = true;
    status.textContent = 'Sending…';

    fetch(form.action, {
      method: 'POST',
      body: new FormData(form),
      headers: { Accept: 'application/json' }
    }).then(function (res) {
      if (!res.ok) throw new Error(res.status);
      form.reset();
      status.textContent = 'Thanks! Your message has been sent.';
    }).catch(function () {
      status.textContent = 'Sorry, something went wrong. Please email us instead.';
    }).finally(function () {
      button.disabled = false;
    });
  });
});
What the script does:
- Checks each required field on submit, writes a clear message under every problem field and moves focus to the first one, which meets WCAG 3.3.1 (Error Identification).
- Re-checks a field as you fix it, so the error disappears as soon as the input is valid, and checks a field when you leave it, but only if you typed something.
- Trims whitespace, so a name made of spaces does not pass, and checks the minimum length itself. Browsers only enforce
minlengthafter real typing, not on values set by scripts or some autofill. - Sends the form with
fetch()and shows the result in the status line, keeping the user’s text if sending fails.
If you prefer CSS-only error styling, the :user-invalid pseudo-class matches a field only after the user has interacted with it, and has been available in all major browsers since late 2023.
Client-side validation is for the visitor’s convenience only. Anyone can bypass it, so whatever receives the form must check the data again.
Sending It: Three Ways to Receive Submissions
A static site cannot send email by itself; something on a server has to receive the POST request. You have three options.
1. A form backend service
The quickest route: sign up, create a form, and paste its endpoint into action. The service stores submissions, emails you and filters spam. Most free plans are small but enough for a personal or small business site:
| Service | Free plan | Paid from | Honeypot field |
|---|---|---|---|
| Formspree | 50 submissions/mo | $10/mo yearly | _gotcha |
| Web3Forms | 250 submissions/mo | €14/mo | botcheck |
| Basin | 1 form, 50/mo | $12.50/mo yearly | Not confirmed |
| Formcarry | 1 form, 50/mo | $5/mo yearly | _gotcha |
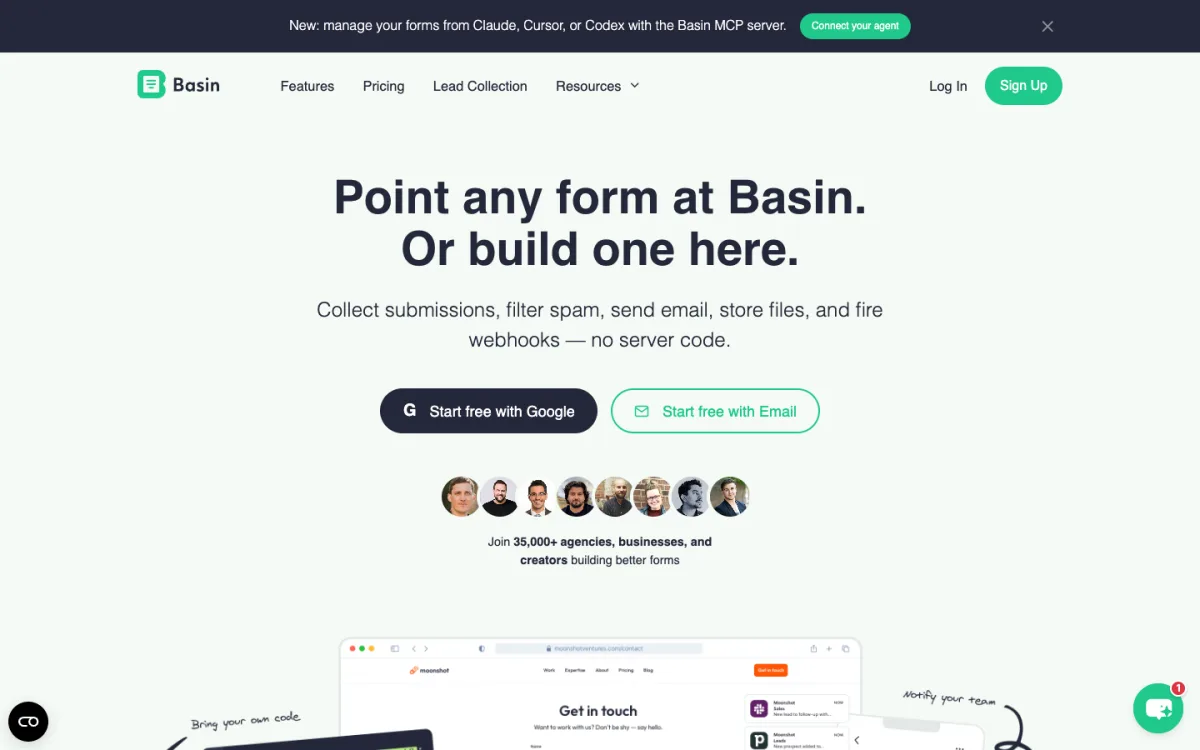
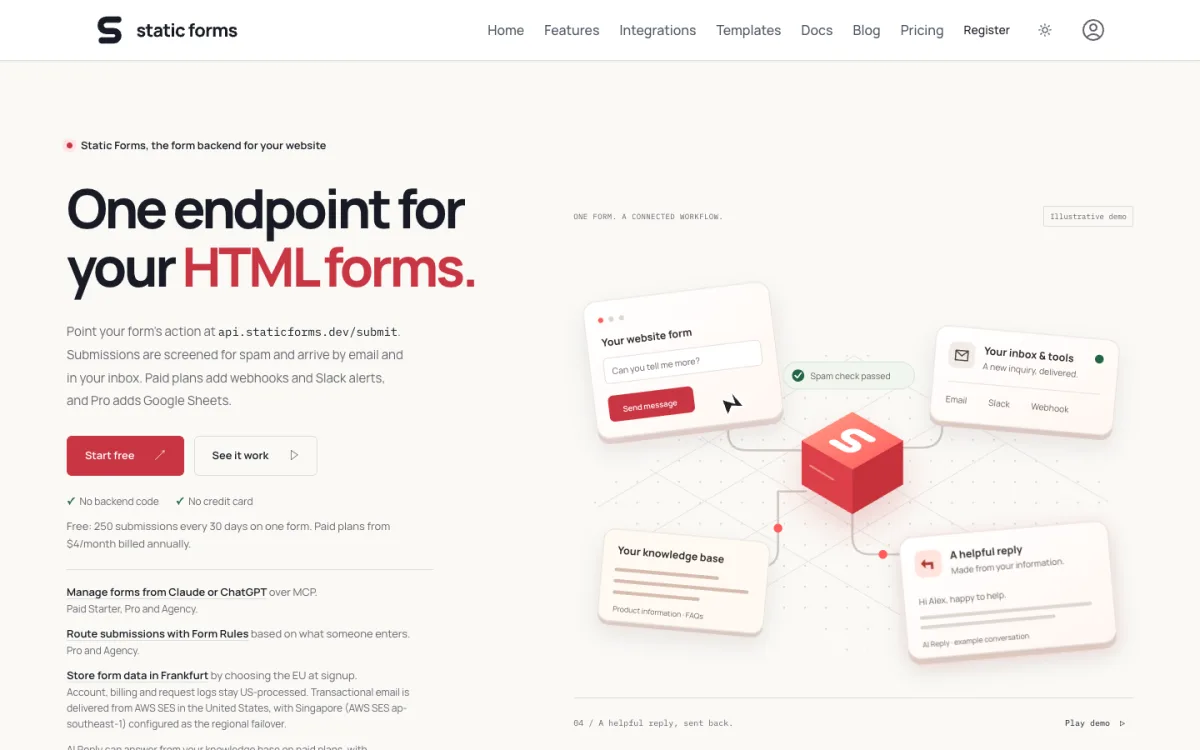
| Static Forms | 1 form, 250 per 30 days | $4/mo yearly | Any name with “honeypot” |
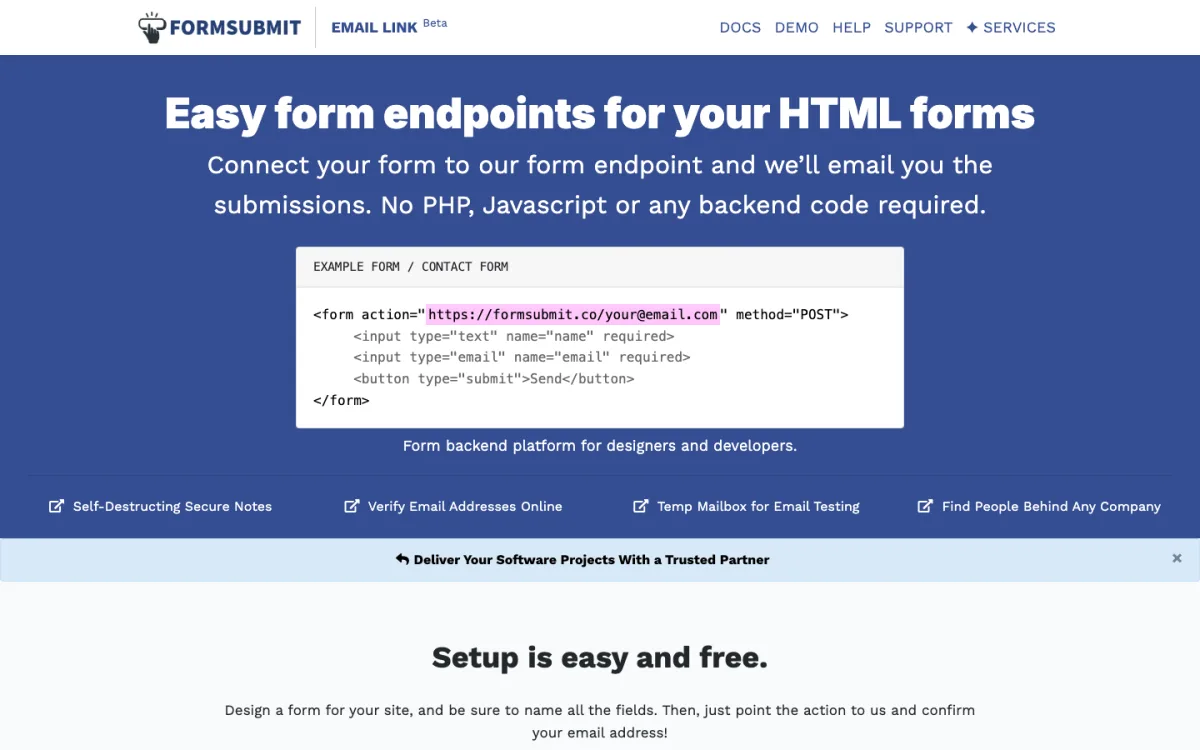
| FormSubmit | Free, no account | — | _honey |
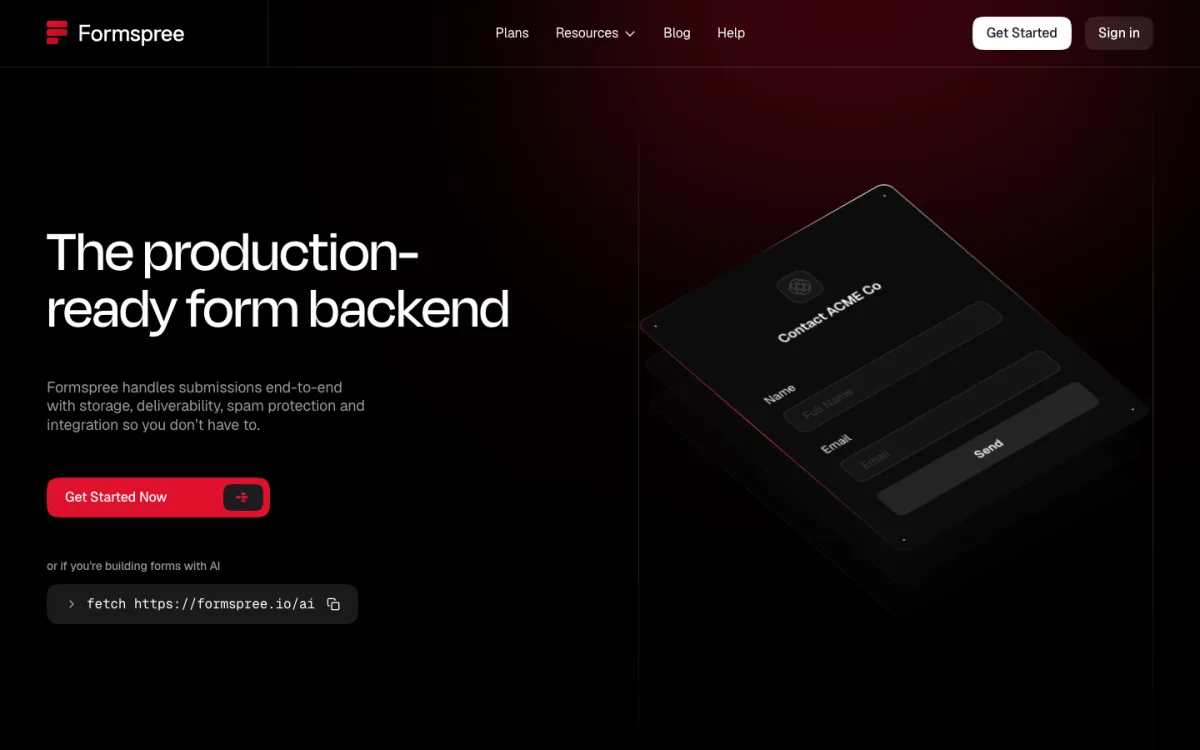
With Formspree, the form above works as written once you replace your-form-id: it accepts the _gotcha honeypot and returns JSON when the request sends Accept: application/json, which our script does. Other services differ in small ways. Web3Forms needs a hidden access_key field, and Static Forms a hidden apiKey, so check the service’s docs for the exact field names.
FormSubmit is the simplest of all: point the form at https://formsubmit.co/your@email.com, confirm the first email, and submissions arrive in your inbox with no account. The trade-off is that your email address appears in the page source unless you switch to the random alias it gives you after confirming.
Before choosing, read where the service stores your visitors’ data. Contact forms collect personal information, and your privacy policy should name the service you use.
2. Your host’s built-in forms
Some static hosts process forms for you. On Netlify, you add an attribute and Netlify detects the form when it deploys your site:
<form name="contact" method="POST" data-netlify="true"
      netlify-honeypot="bot-field" class="contact-form" novalidate>
  <input type="hidden" name="form-name" value="contact">
  <p class="hp"><label>Leave this empty <input name="bot-field"></label></p>
  <!-- the same fields as above -->
</form>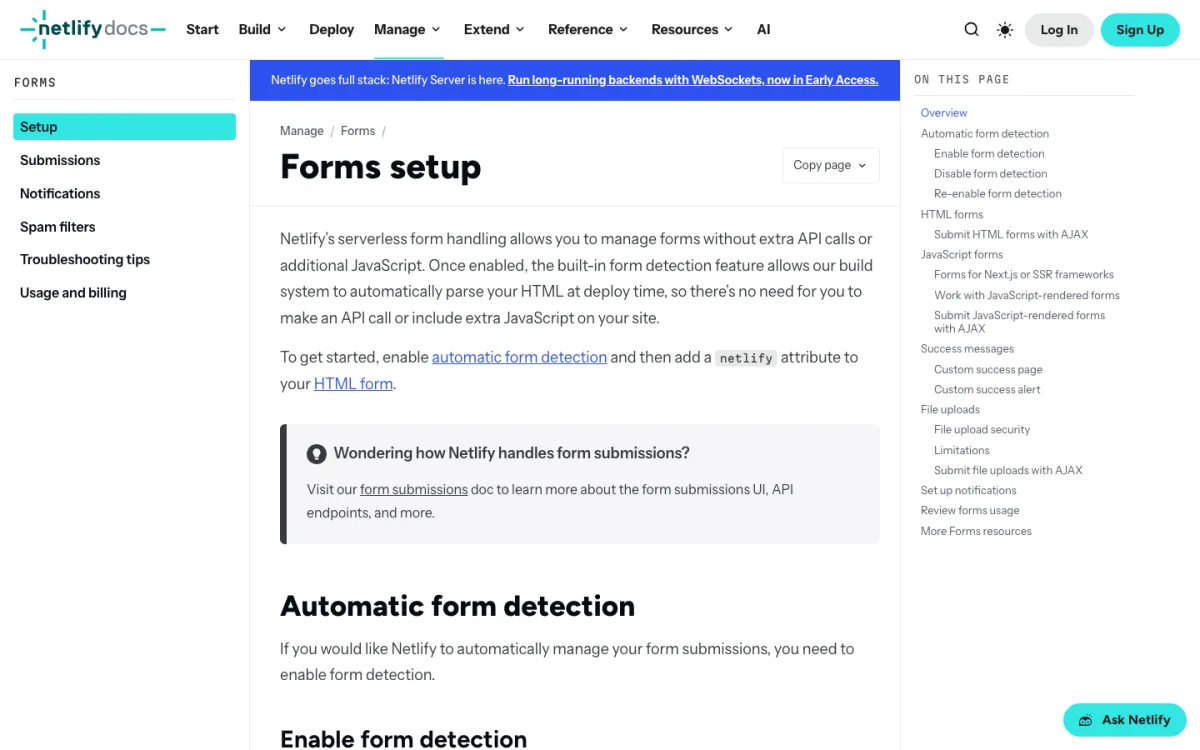
Netlify filters submissions with Akismet, and on its current credit-based plans form submissions are free and do not use credits. Two catches: forms rendered by JavaScript need a static HTML copy so Netlify can find them, and AJAX submissions must be URL-encoded, not JSON. Replace the fetch call in the script with:
fetch('/', {
  method: 'POST',
  headers: { 'Content-Type': 'application/x-www-form-urlencoded' },
  body: new URLSearchParams(new FormData(form)).toString()
});
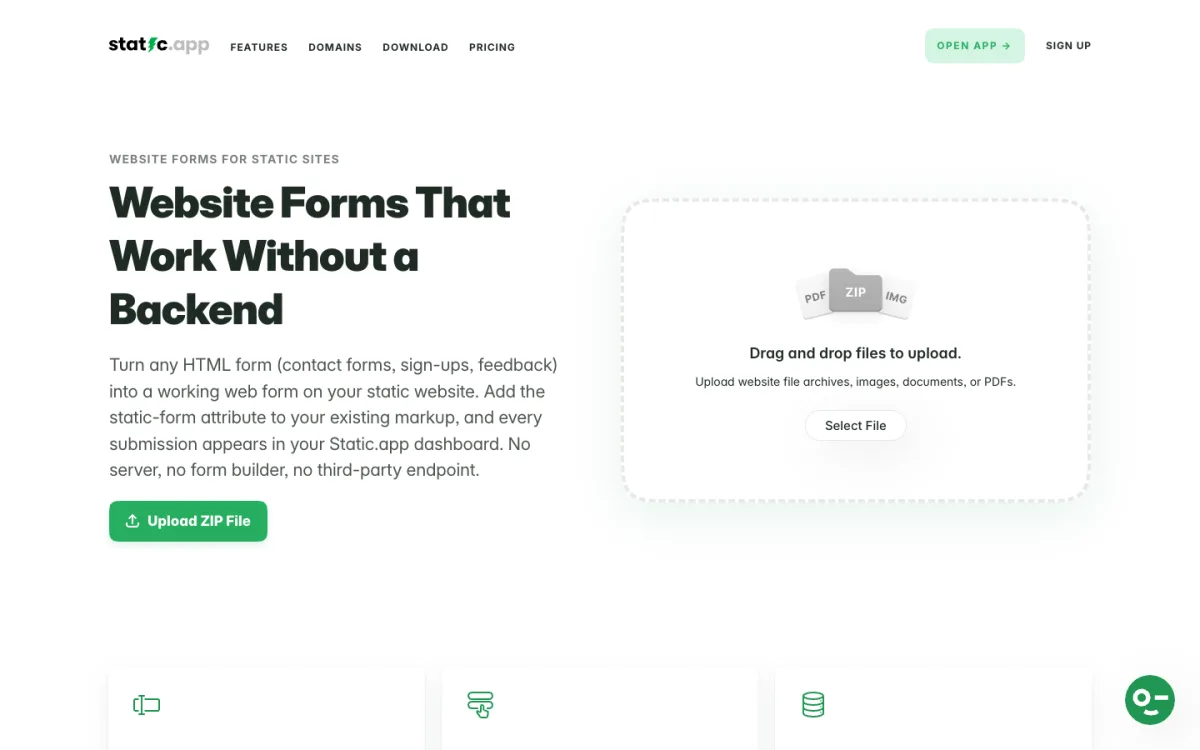
Static.app works the same way and needs even less markup. Add the static-form attribute to your form, and every submission appears in your Static.app dashboard, where you can delete or export entries. An optional static-form-id groups submissions, for example contact messages apart from sign-ups:
<form static-form static-form-id="contacts" method="POST"
      static-form-success-callback="formSent" class="contact-form">
  <!-- the same fields as above, each with a name attribute -->
</form>
<script>
window.formSent = function () {
  window.location.href = '/thanks.html';
};
</script>
The static-form-success-callback attribute names a function to run after a successful submission, such as redirecting to a thank-you page. Three things to know, from Static.app’s own help article:
- Every field needs a
name, or its value arrives unlabeled. - Use
method="POST"(or leavemethodout), and neveraction="#". - Remove custom submit handlers that call
event.preventDefault(). That includes the sending part of our script, so on Static.app keep the HTML and CSS from this guide and rely on the built-inrequired,type="email"andminlengthchecks, or run the field checks without thefetch()call.
Forms are included on Static.app’s paid plans, from Starter at $5 a month billed yearly ($60 a year), not on the free 7-day trial. The pricing page lists no submission limit, and the forms page recommends adding a CAPTCHA for spam rather than describing a built-in filter. Prices were checked on November 12, 2026.
Cloudflare and Vercel do not offer managed form handling; on those hosts, use a form backend or a function. If you are still choosing a host, our guide to the best static hosting compares them.
3. Your own serverless function
For full control, receive the form yourself. A Cloudflare Worker can read the submission with request.formData() and email it with Cloudflare’s Email Service, which can send to verified addresses in your own account on any plan. The Email Service was in beta when we checked, so confirm the details in Cloudflare’s documentation:
export default {
  async fetch(request, env) {
    if (request.method !== 'POST') {
      return new Response('Method not allowed', { status: 405 });
    }
    const data = await request.formData();

    // Honeypot filled in: pretend it worked, send nothing.
    if (data.get('_gotcha')) return Response.json({ ok: true });

    const name = String(data.get('name') || '').trim();
    const email = String(data.get('email') || '').trim();
    const message = String(data.get('message') || '').trim();
    if (!name || !email.includes('@') || message.length < 10) {
      return Response.json({ ok: false }, { status: 400 });
    }

    await env.EMAIL.send({
      to: 'you@example.com',          // a verified address in your account
      from: 'forms@example.com',
      subject: `Contact form: ${name}`,
      text: `${name} <${email}>\n\n${message}`
    });
    return Response.json({ ok: true });
  }
};
Point the form’s action at the Worker’s URL. If you prefer a dedicated email API, Resend’s free plan includes 3,000 emails a month (100 a day) and Postmark’s free plan 100 a month. This route takes more setup, but nothing is stored with a third party and there are no submission limits beyond your own. Our guide on passing data with AJAX to a PHP file shows the same idea on a traditional PHP server.
Stopping Spam
Any public form attracts bots within days. Layer these defences, cheapest first:
- A honeypot field. A text input hidden off-screen, with
tabindex="-1"andautocomplete="off", that people never see and many bots fill in. Do not usetype="hidden": bots know to skip those. Our form names it_gotcha, the field Formspree and Formcarry recognise. - Server-side checks. Reject empty, too-short or link-stuffed messages where the form is received, since client-side validation is easy to skip.
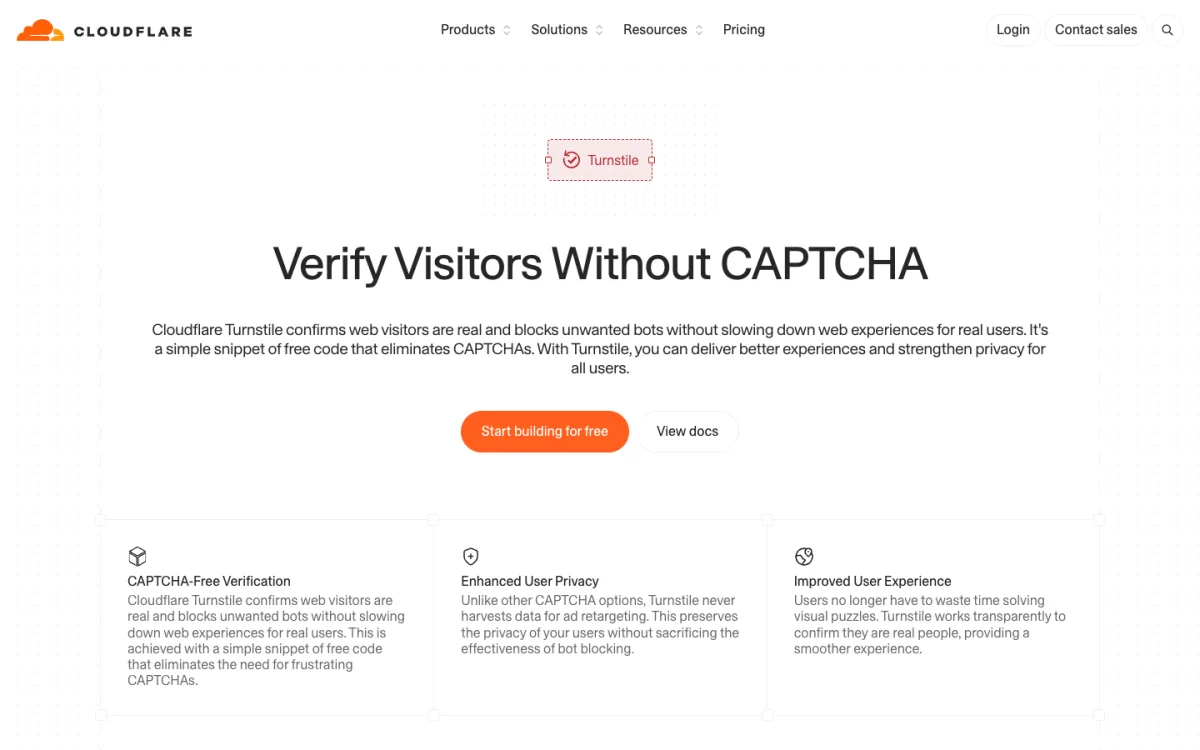
- A challenge widget. Cloudflare Turnstile is free, usually invisible to people, and verified on the server by posting its token to Cloudflare’s
siteverifyendpoint. Many form backends also offer hCaptcha or reCAPTCHA. - Rate limiting. Limit how many submissions one IP address can send per minute. Form backends do this for you; with your own function, use your host’s rate-limiting rules.
- Email verification. For sign-up forms rather than contact forms, confirm the address before accepting it. Our guide to stopping spam sign-ups with email verification explains how.
FAQ
How do I make an HTML contact form send email?
HTML alone cannot send email. Point the form’s action at something that can: a form backend such as Formspree, your host’s form feature such as Netlify Forms or Static.app forms, or a serverless function that calls an email API.
Can I make a contact form without PHP?
Yes. A form backend service, Netlify Forms, Static.app forms or a serverless function like a Cloudflare Worker all receive submissions without PHP, which makes them a good fit for static sites.
Should I use mailto: in the form action?
No. A mailto: action opens the visitor’s email app, if they have one set up, and many do not. Nothing is sent from the page, and you lose the message if the app is not configured.
Is a honeypot enough to stop spam?
It stops many simple bots, but not all. Combine it with server-side validation and, if spam continues, a challenge such as Cloudflare Turnstile.
How do I make a contact form accessible?
Give every field a visible label, group radio buttons in a fieldset with a legend, use autocomplete tokens, show errors as text linked with aria-describedby, move focus to the first error, and make sure the whole form works with a keyboard.
Does a contact form work without JavaScript?
Yes, if it has a real action and method="POST". The script in this guide only improves the experience; without it, the browser submits the form normally.